Sunday, May 5, 2019

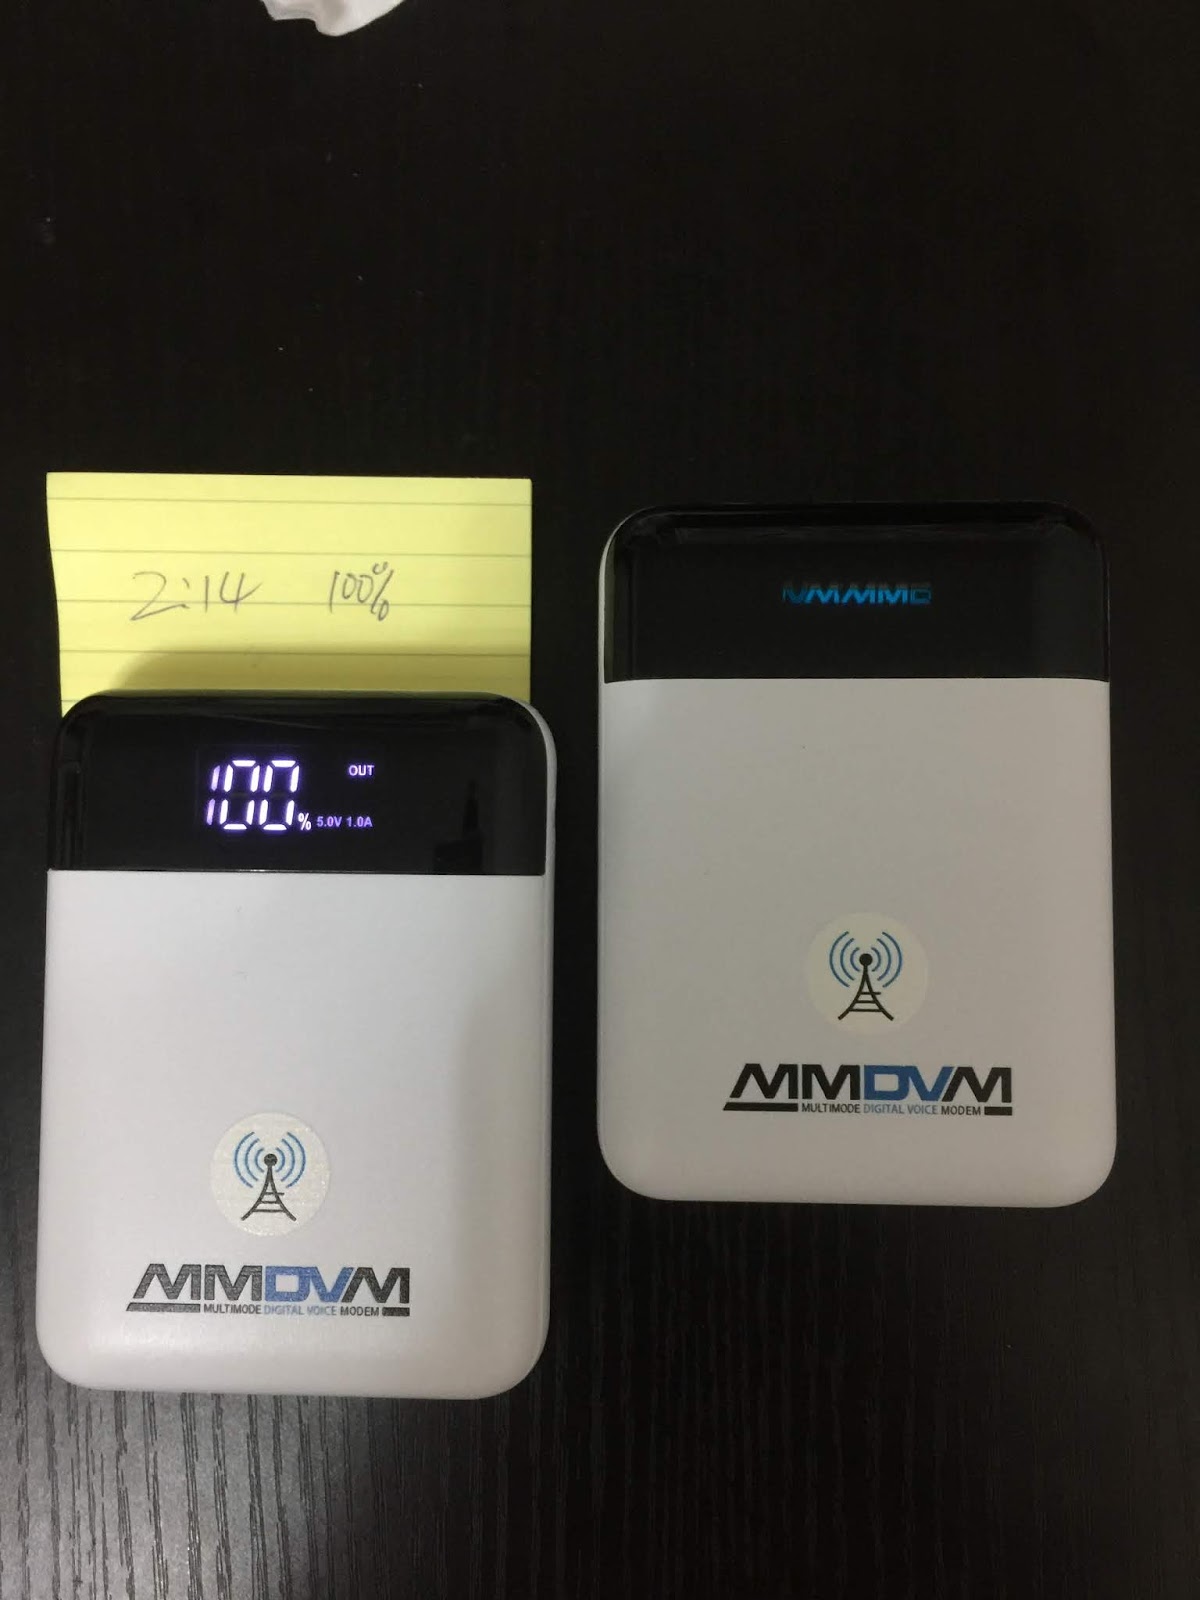
User guide for MMDVM_BAT (battery inside)

Basic operations
1, Press POWER button 1s to startup hotspot, wait 30s OLED screen show MMDVM status, when MMDVM service Initialization completed.
2,Press POWER button 5s to shundown hotspot.
3,Press POWER button 3s to reboot hotspot.
4,Double press POWER button to open the LED Flashlight lamp, double press to close

It takes about four hours to charge to 100%.(Ensure input charging 5V1.3A~2A)
It can supply power for about 20 hours.
Automatic shutdown hotspot during charging

Youtube video 
How to connect to your Wifi router


 (Duplex HS external SMA ANTs, 0.1 watt, 4 meters distance with wall barrier
 just for reference!)

Update: from now I use Raspberry 3B HAT replace Zero HAT; Purpose: large place to obtain low BER.


Battery install sample if you DIY yourself.
Take care the + - poles ! ! First full turn off the hotspot after pressing for 5 seconds, then soldering , otherwise it will burn your device! 


More videos sharing 


Check out this model $80
https://www.bi7jta.org/cart/index.php?route=product/product&path=59_74&product_id=75

OLED setting for Pi-Star


1, Rotate 180 degree
running effect

Setting step

 You can get one in www.bi7jta.org/cart

2, the type for 0.96 inch and 1.3 inch 


3, show OLED patch by KI9H


Sunday, March 3, 2019

PI-STAR API for NEXTION,#MMDVM

API DOC
Not found,  but you can find the code define from G4KLX Project

https://github.com/g4klx/MMDVMHost/blob/master/Nextion.h
https://github.com/g4klx/MMDVMHost/blob/master/Nextion.cpp

Flash Nextion Firmware online(ssh),
thanks Peng Hui Ping VR2VYE provide this method ,from now not need TF Card. Video demo follow my facebook status and the end of this article.
First publish in https://www.facebook.com/winters.cn/posts/1620668804697067
*Now not support board 4 PINs header output mode, Pi-Star setting Nextion (Modem)


Prepare tools
1x USBtoTTL Adapter, such as CP2102, PL2303 model
require pyserial runtime

How to do
1) login ssh mode:
http://pi-star:2222
default login
usr: pi-star
pas: raspberry

Copy the follow RED text ,then Ctrl+V, and press ENTER,
Notice that rpi-rw, sudo su , su pi-star, just support one line one time

#Change system to Read and Write
rpi-rw

Step 1, Install require runtime . VERY IMPORTANT!

sudo su; 
rpi-rw; 
cd /tmp;
git clone https://github.com/pyserial/pyserial.git;
cd pyserial;
python setup.py install;

#When install  runtime complete,change to pi-star user
su pi-star
cd /home/pi-star

#Download nextion.py
wget https://raw.githubusercontent.com/g4klx/MMDVMHost/master/Nextion_G4KLX/nextion.py

Step 2, download Nextion firmware (*.tft not *.HMI)

#Download Nextion firmware to current directory
#for 4.3 inch NX4827T043
wget https://github.com/nano-mmdvm/Duplex_hotSPOT/raw/master/nextion/NX4827T043_G4KLX_ShowIP_by_BI7JTA.tft

#for 3.2 inch NX4024T032
wget https://github.com/nano-mmdvm/Duplex_hotSPOT/raw/master/nextion/NX4024T032_G4KLX_ShowIP_by_BI7JTA.tft

Step 3, flash use command 

#5) Stop MMDVMHost serice
sudo pistar-watchdog.service stop; sudo systemctl stop mmdvmhost.timer; sudo systemctl stop mmdvmhost.service

#6)Flash to /dev/ttyUSB0
python nextion.py NX4827T043_G4KLX_ShowIP_by_BI7JTA.tft /dev/ttyUSB0

#Flash to /dev/S2 when using modem,4 PINs header
Now not support

#7) Startup MMDVMHost service
sudo pistar-watchdog.service start; sudo systemctl start mmdvmhost.timer; sudo systemctl start mmdvmhost.service

Monday, December 17, 2018

NanoPi_NEO Instruction


NanoPi_NEO Wiki http://wiki.friendlyarm.com/wiki/index.php/NanoPi_NEO


Product for MMDVM 
http://mmdvm.bi7jta.org/2018/04/userguide-and-openbox-video-for-nano.html

Friday, November 23, 2018

Bluetooth Adapter for Nextion User guide


Can also use USBtoTTL adapter


Test: 
AT 

Set Master

AT+ROLE=M

Set Slave
AT+ROLE=S 

Set Baud

Send:AT+BAUD2
Return:OK2400 ,support:
1--------- 1200
2--------- 2400
3--------- 4800
4--------- 9600(Default) 

5--------- 19200
6--------- 38400 
7--------- 57600 
8--------- 115200 
9--------- 230400 
A--------- 460800 
B--------- 921600 
C--------- 1382400 
  

Wednesday, November 7, 2018

Linux Base Operate and PI-STAR Operation System

1) Re install VIM

Enter ssh mode for PI-STAR
http://pi-star:2222/
Login as
usr: pi-star
pas: raspberry

1, re-install the purge VIM (poor version)
sudo apt-get -y remove vim-common;
sudo apt-get -y install vim  


2) Pi-Star enter root mode

root account without passowrd use "sudo su" 

3) Pi-Star install XLXd reflector

Other:
Suit OS: Debian, Armbian, Raspbian
Scan WiFi

pi-star@pi-star(ro):~$ sudo iwlist wlan0 scan  | grep SSID
                    ESSID:"888888-2G"
                    ESSID:"TP-LINK_A4F2"
                    ESSID:"TPGuest_755569"
                    ESSID:"Fan"
                    ESSID:"OGLO"
                    ESSID:"vanilla"
                    ESSID:"888888-8G"
                    ESSID:"CMCC-vanilla"
Add WiFi :

sudo nano /etc/wpa_supplicant/wpa_supplicant.conf  
ctrl_interface=DIR=/var/run/wpa_supplicant GROUP=netdev 
update_config=1
ap_scan=1 
fast_reauth=1 
country=JP     
network={             
        ssid="888888-2G"     
        psk="0123456789"           
                       

Monday, November 5, 2018

MMDVM Repeater User Case Motorola #MTR2000

IW6BFE


IS0XDA
the circuit diagram and the value of capacitor used to drive the TX Audio of MTR2000


Repeater MMDVM guide by BI7JTA
https://mmdvm.bi7jta.org/2018/04/about-nano-mmdvm-repeater-kit-board.html
Motorola MTR2000 and MMDVM

http://www.repeater-builder.com/motorola/mtr2k/mtr-index.html

BI7JTA'S HAM RADIO help you build your Digital Repeater and Hotspot easier.

  For your easy DIY work . Winters CN for more information, h ave fun!  MMDVM Repeater board V3F4 , DMR YSF D-STAR NXDN M17 POCSAG FM htt...